Cognee UI
You can easily interact with cognee using its intuitive UI. Below you will find two ways to set it up and step by step tutorial over an example.Let’s walk through a simple example
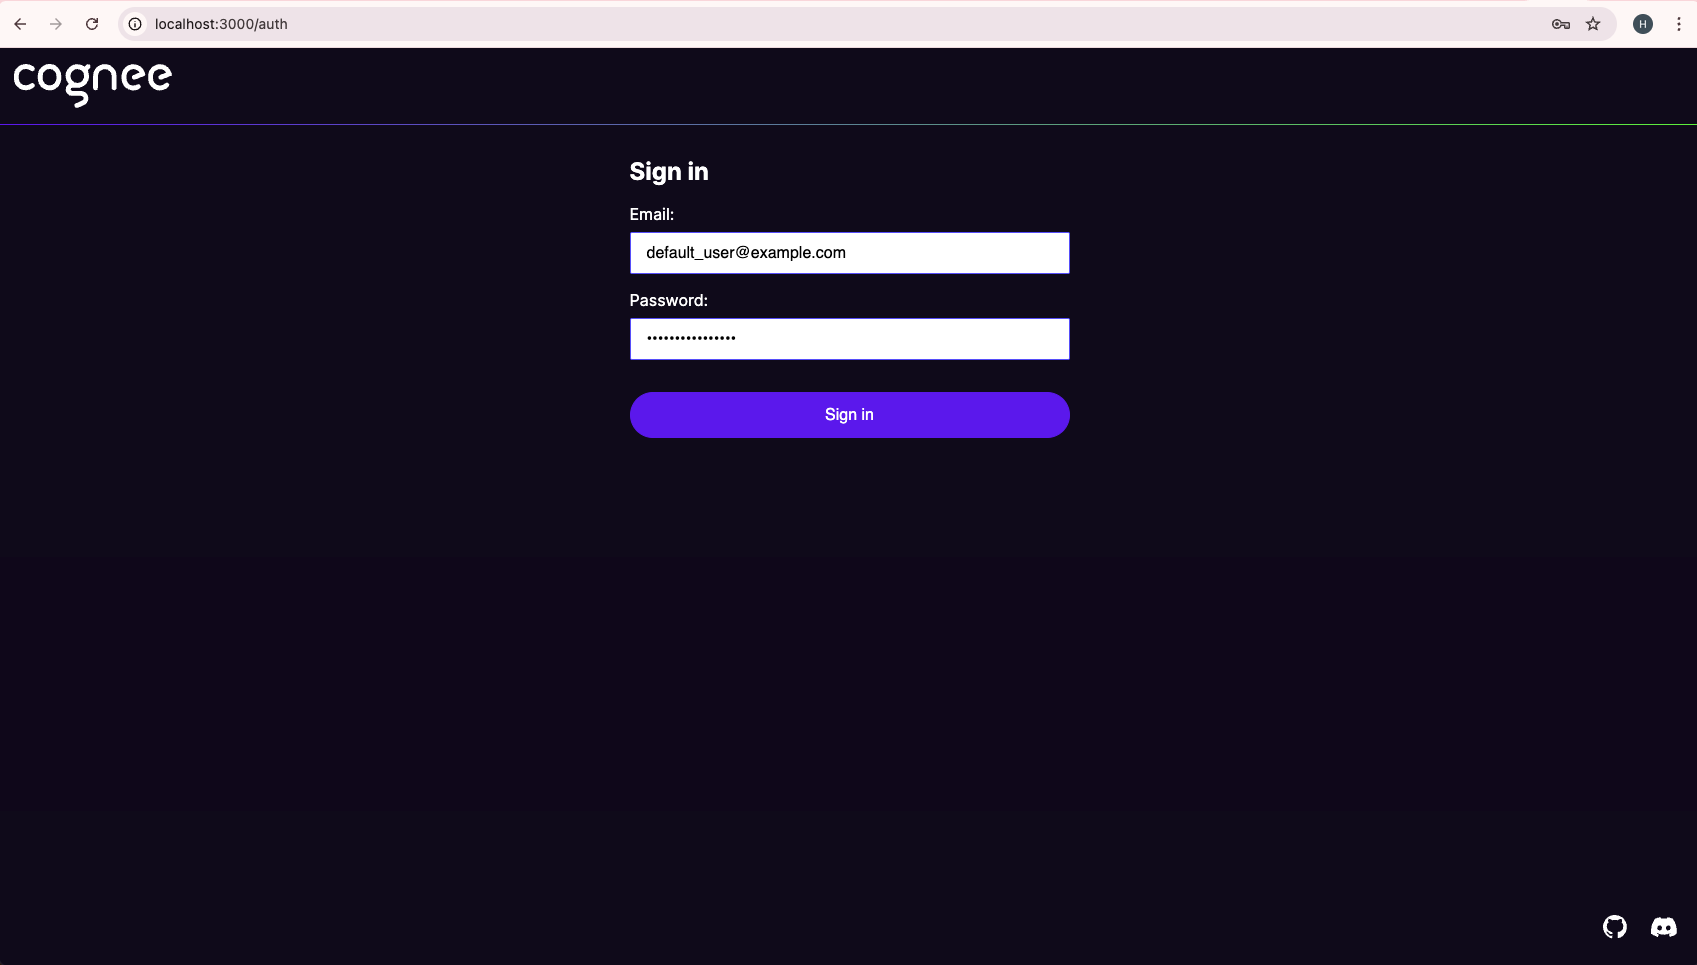
Step 1 - Authorization
Step 2 - Basic configuration
If you configure the environment variables in the env file above, cognee fills this part automatically. Otherwise you can configure here or make changes.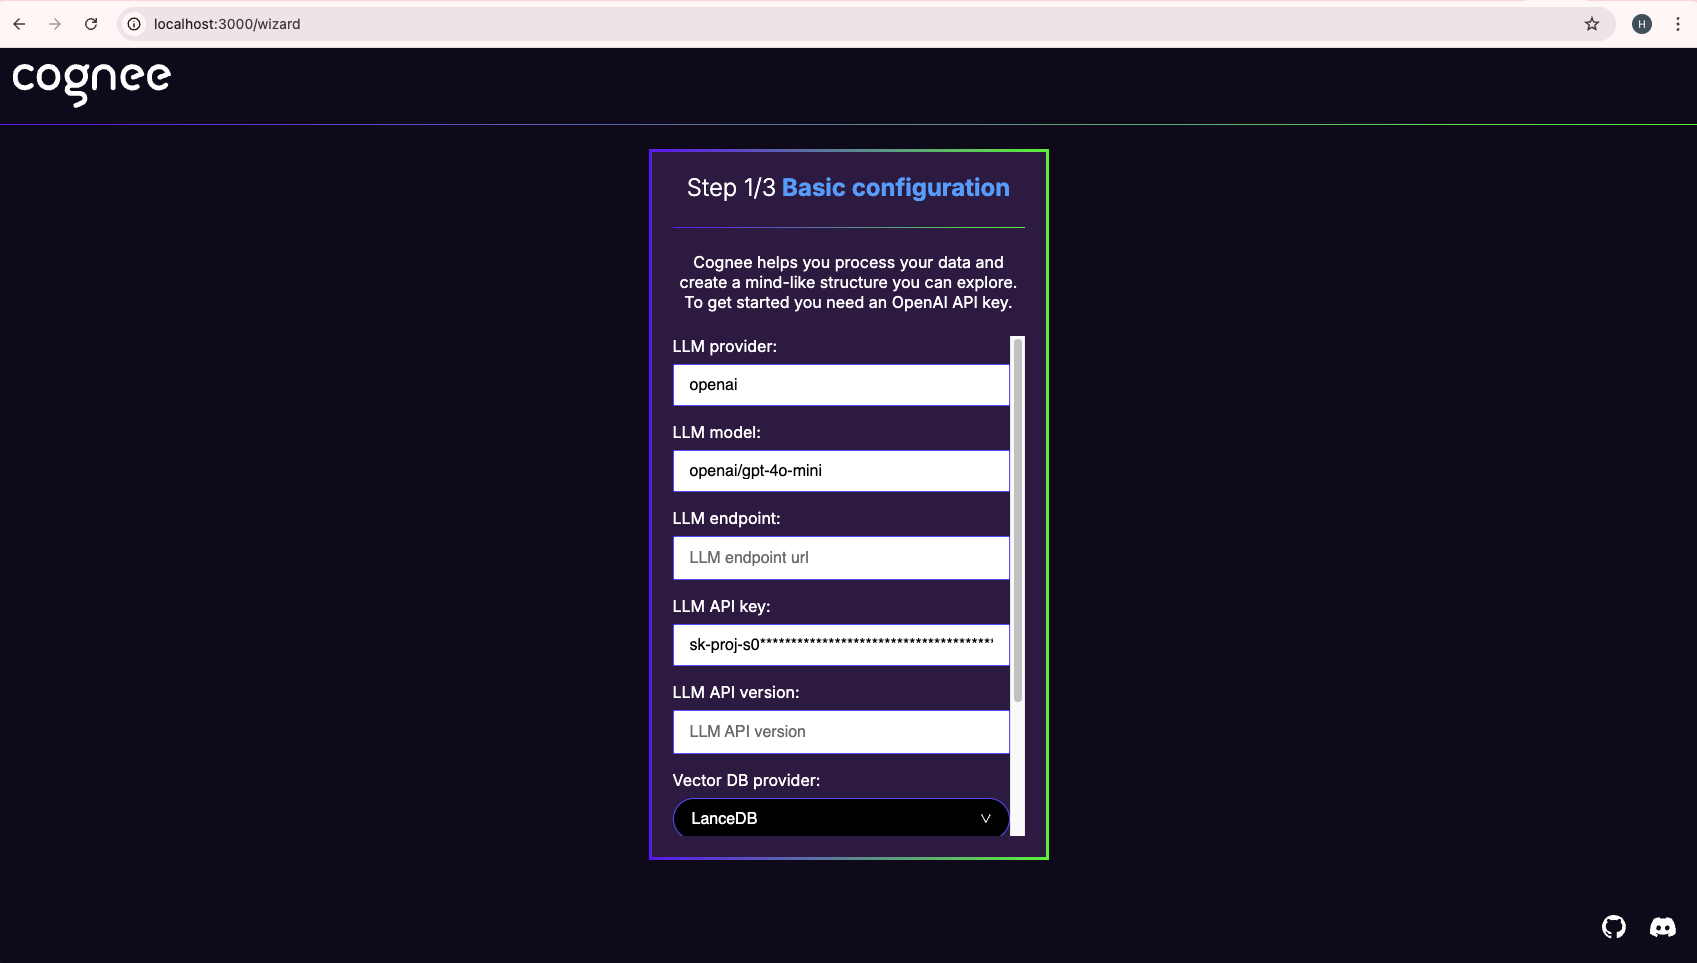
Step 3 - Add knowledge
When you click “Upload your data”, you will be prompted to select from your local files. You can select multiple files. In this example we will select one. When it’s completed, click “Next”.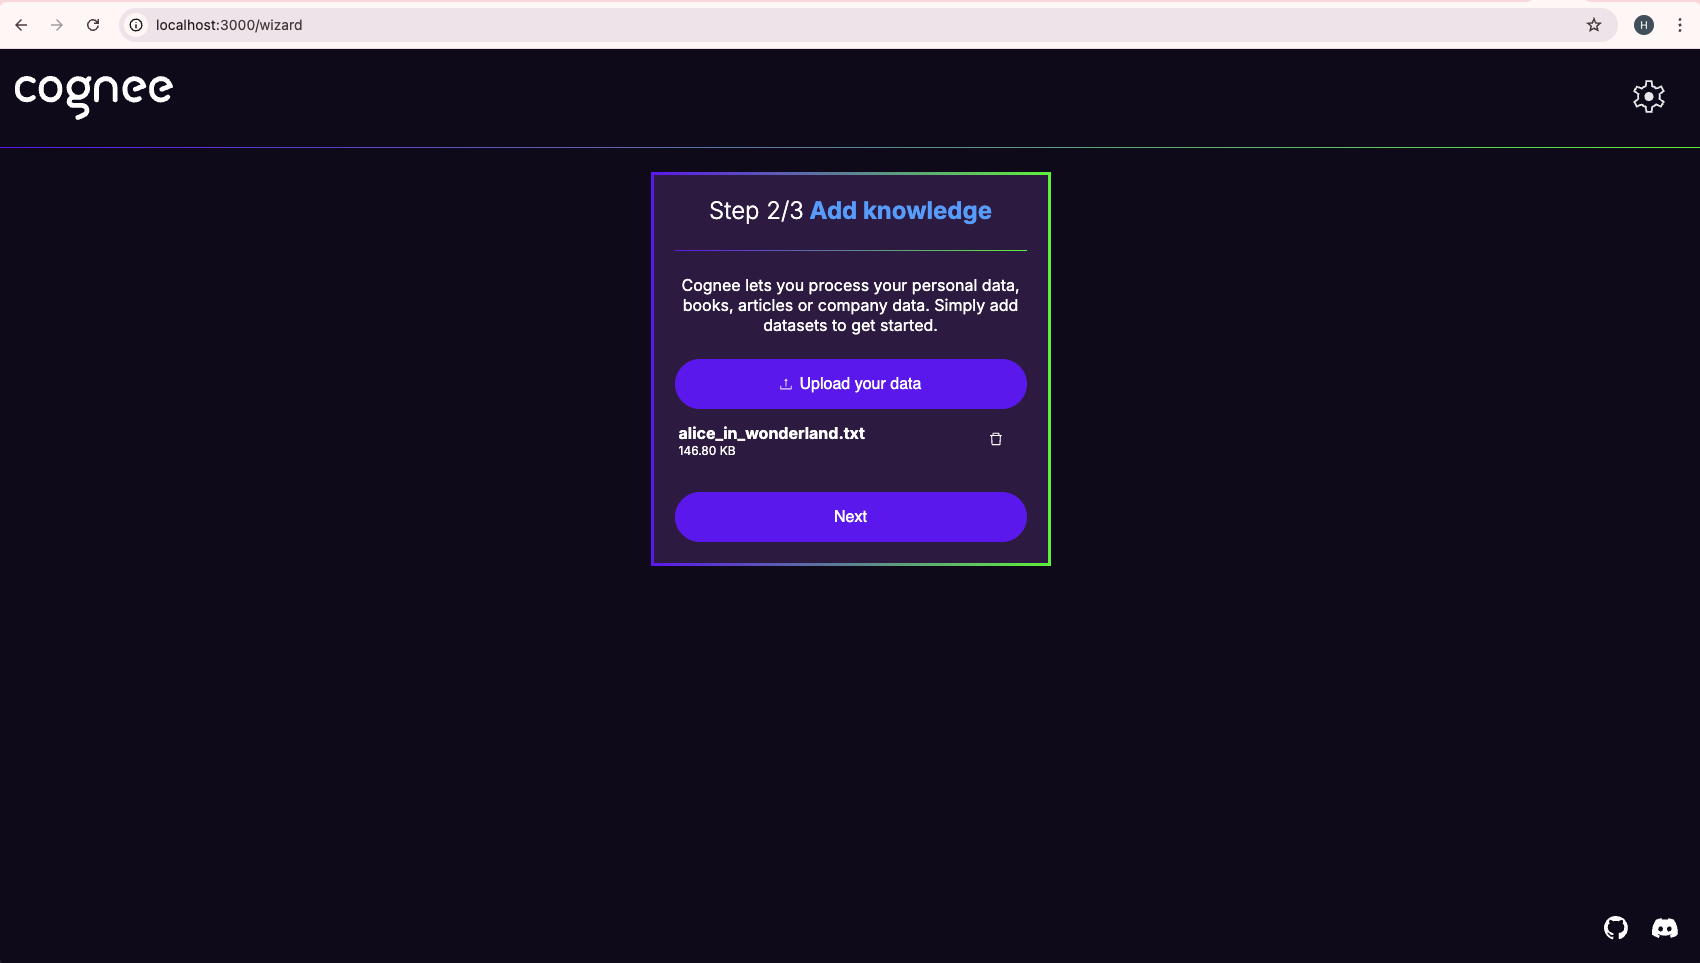
Step 4 - Cognify!
This step automatically starts building a knowledge graph from the data you uploaded in the previous step using cognee’s default pipeline cognify. Depending on the size of your data, you might need to wait a few minutes but generally it is completed in seconds. When completed, click “Explore data”.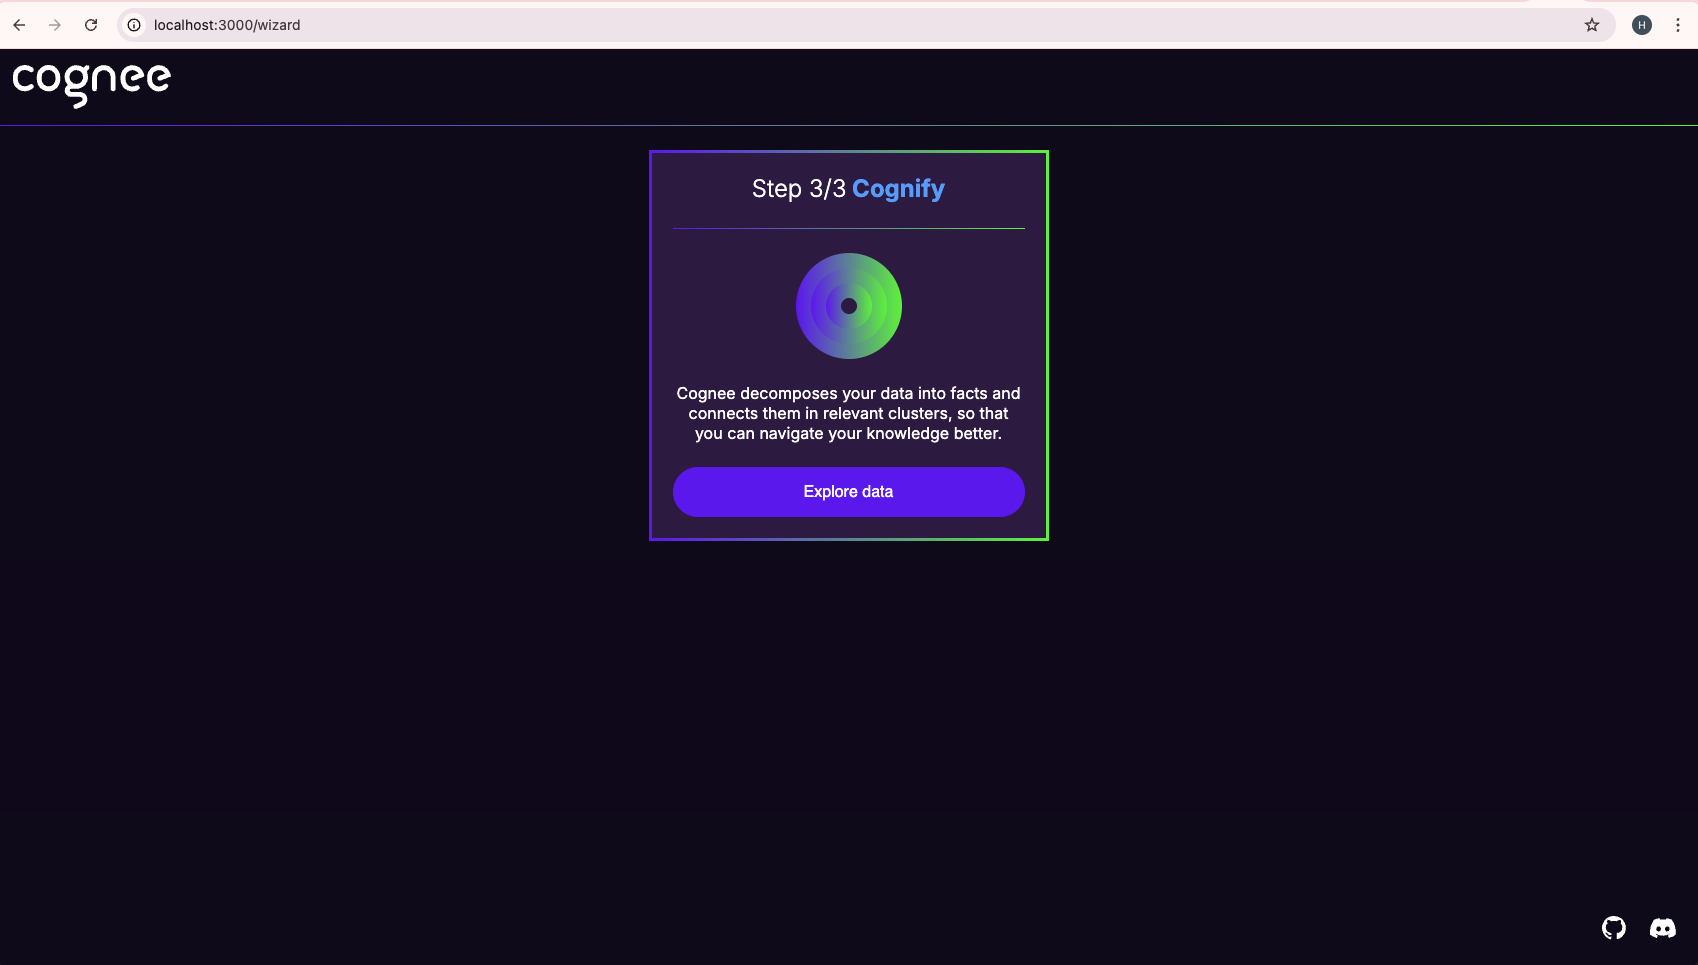
Step 5 - Explore freshly generated knowledge graph
On the left side, you can visually explore your knowledge graph. Using the chat interface on the left side, you can query it with 3 different retrieval approaches.- Query insights from documents: uses
searchType.INSIGHTS - Completion using Cognee’s graph based memory: uses
searchType.GRAPH_COMPLETION - Completion using RAG: uses
searchType.RAG_COMPLETION
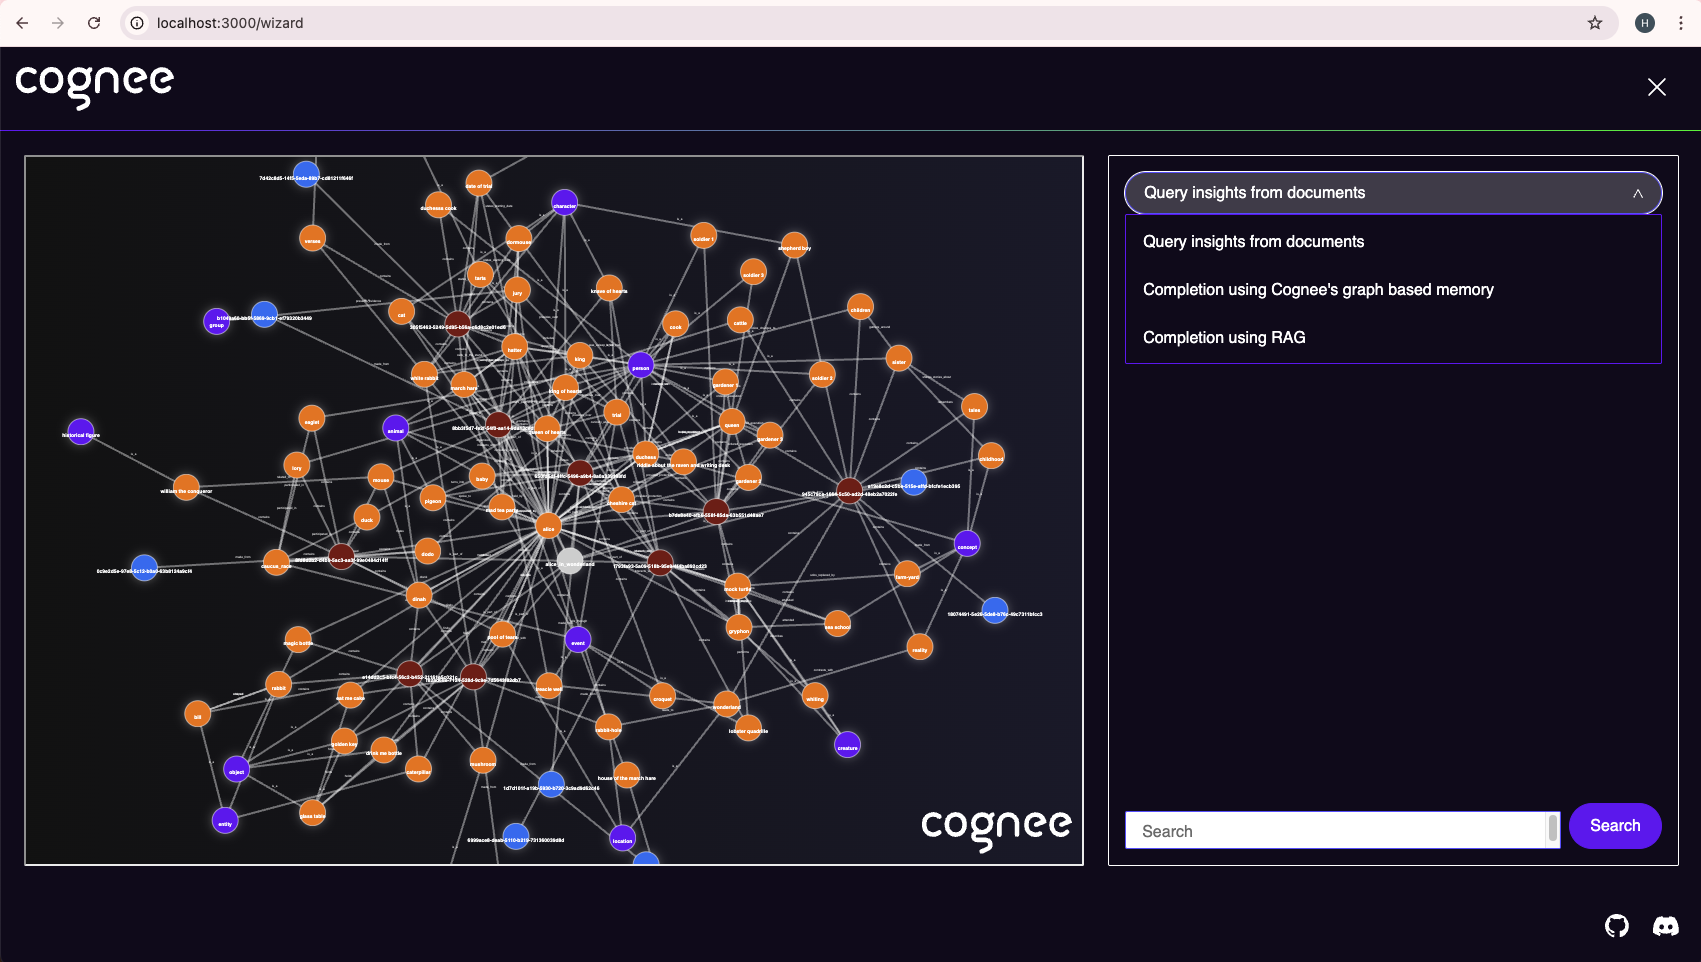
Step 6 - Query your knowledge graph
Now you can experiement with the available search types. In this example, we’ll use Completion using Cognee’s graph based memory and ask questions about the data we added, the novel - Alice in Wonderland.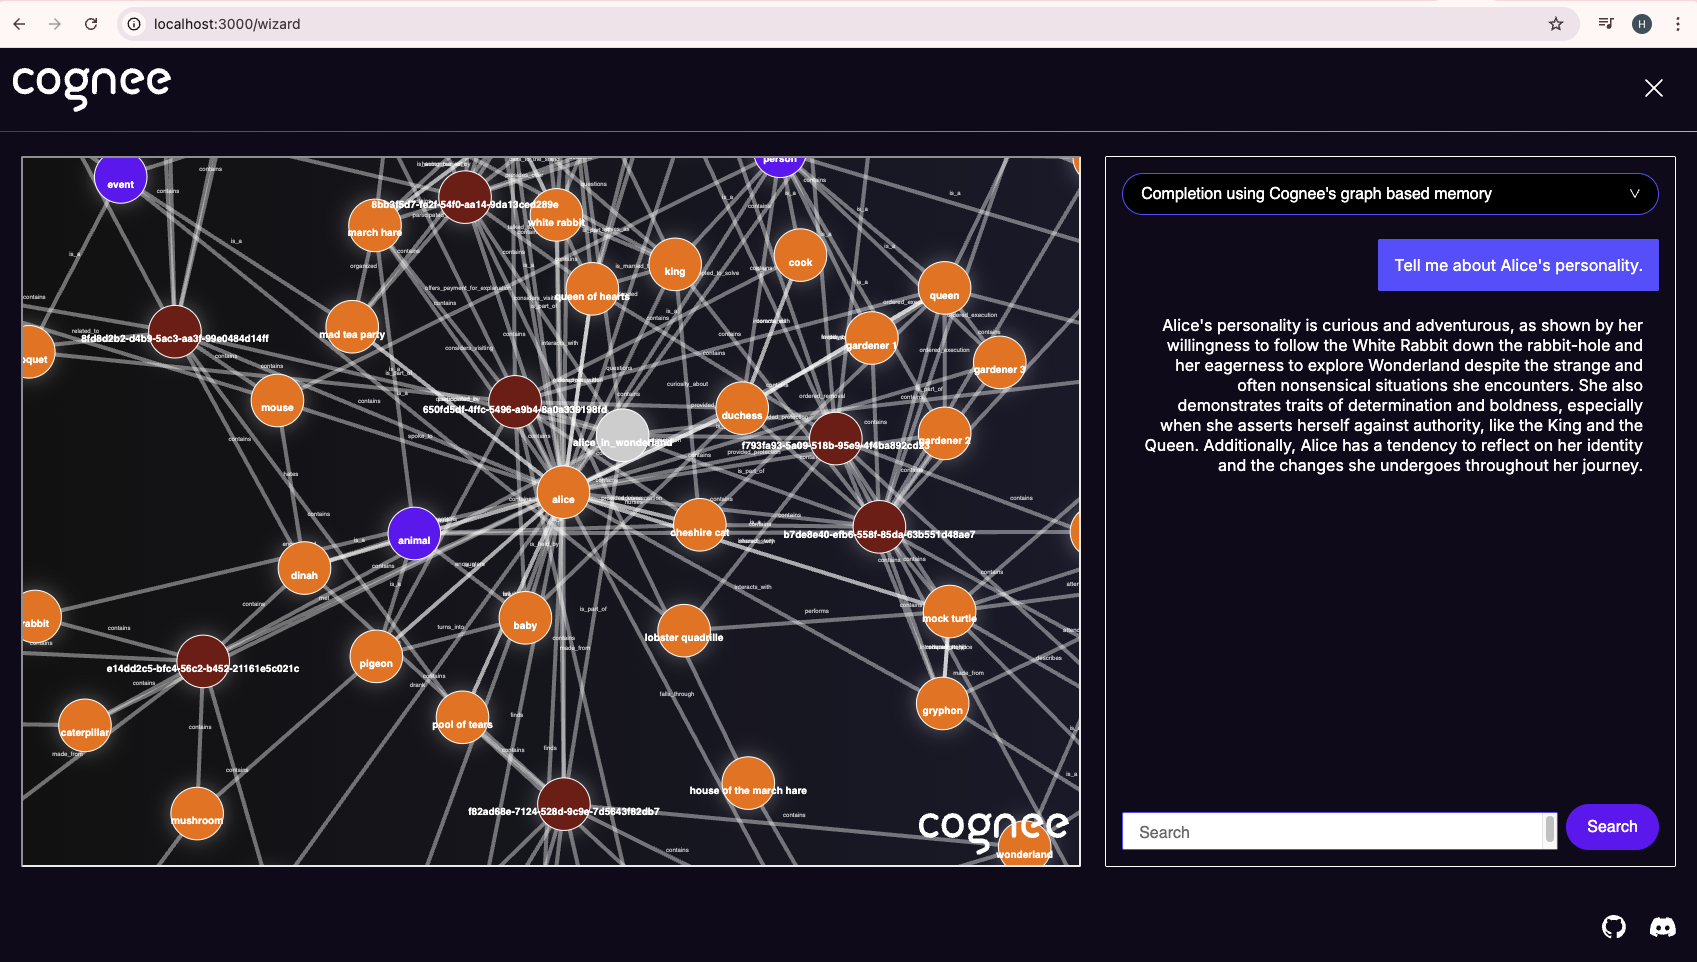
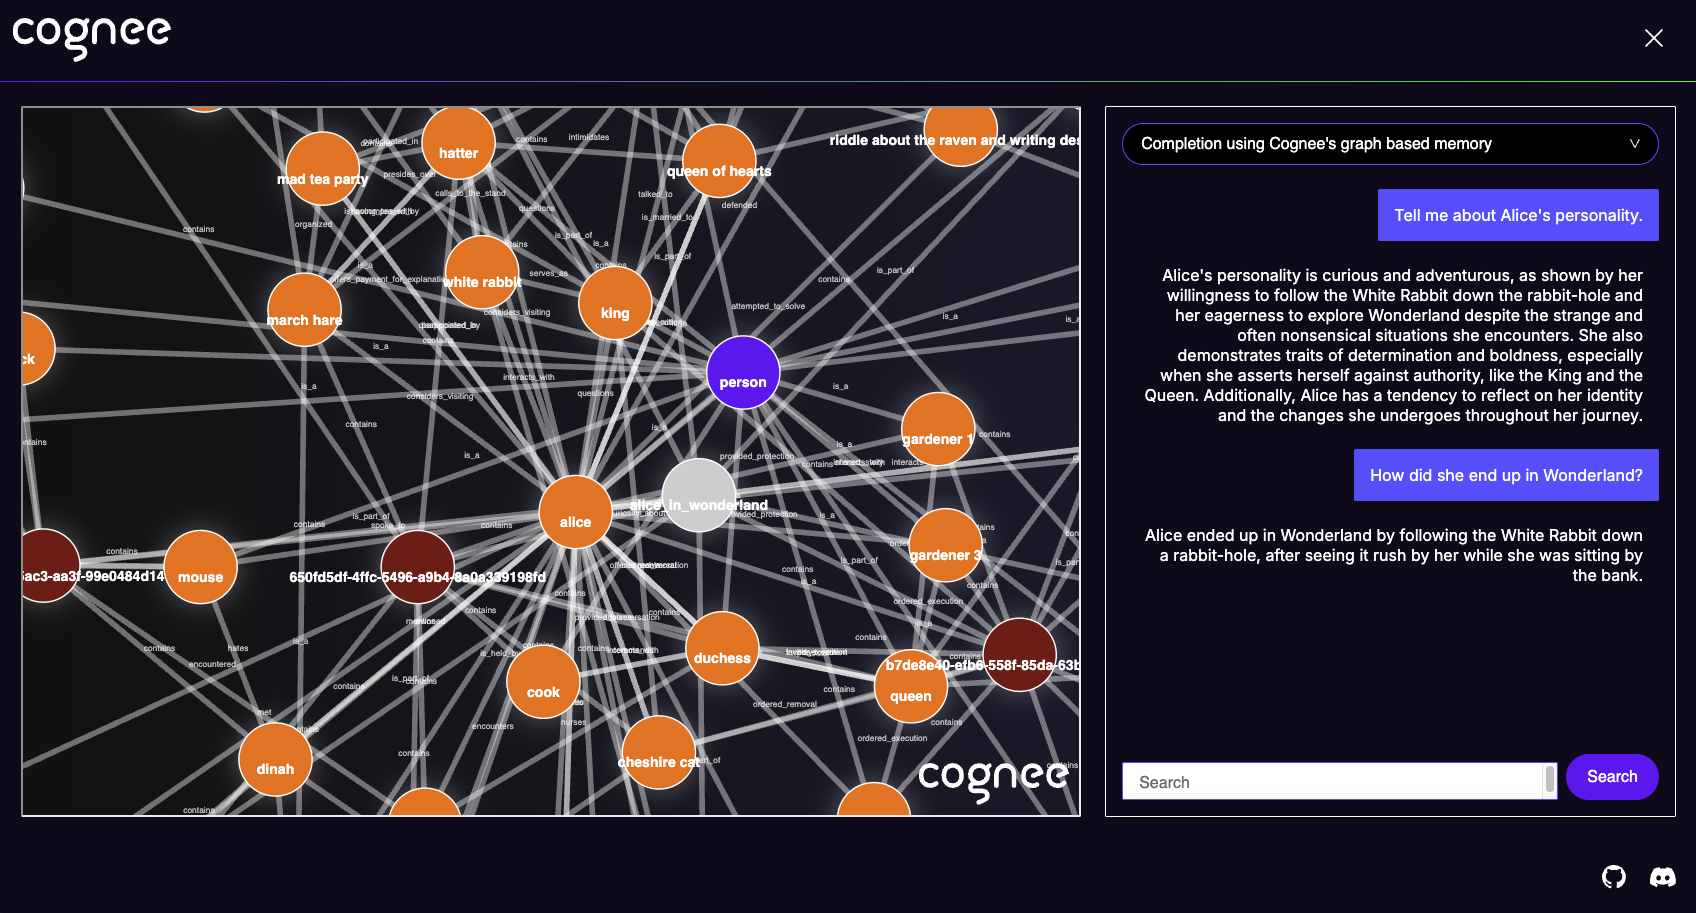
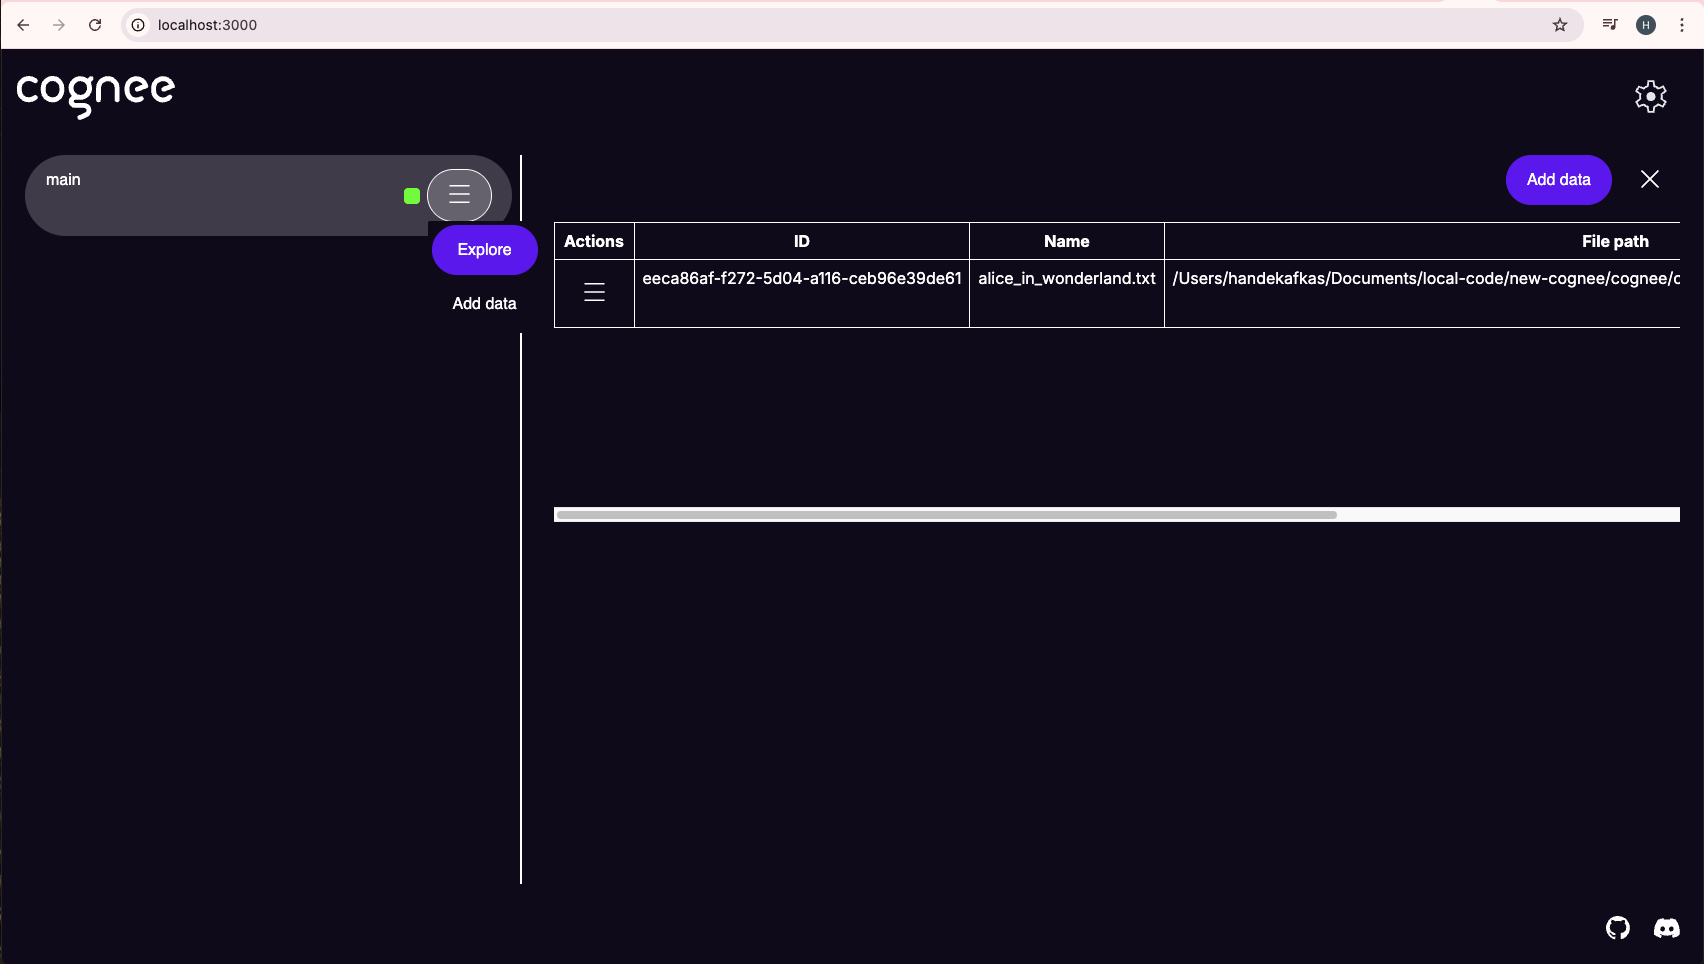
Step 7 - Dataset overview
Here you can add more files, view your files, or navigate to the Explore page again.